
Gastronomy
The Complete Beginner's Guide to Air Fryer Cooking
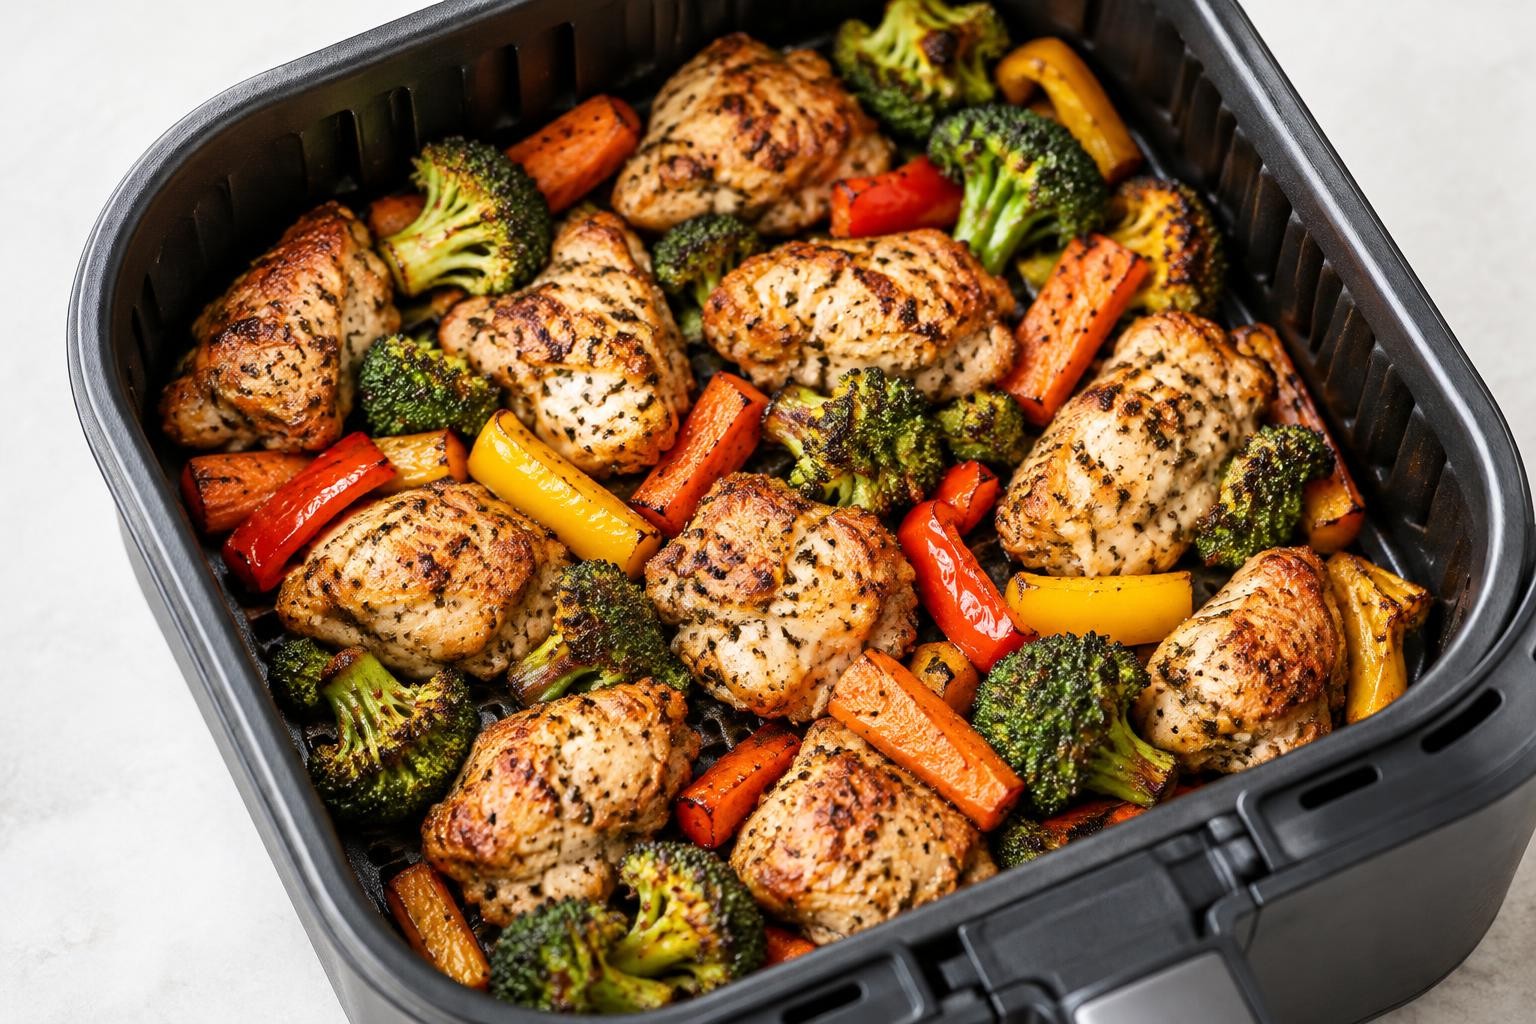
An air fryer can make weeknight cooking faster and easier, but it is not magic and it is not a miniature deep fryer. It is essentially a compact convection oven: a heating element and a powerful fan circulate hot air around food. That circulation can create crisp surfaces with relatively little added oil, especially when the food is dry and spread in a loose layer.
A new owner quickly discovers that the hardest part is not pressing the buttons. It is learning how much food fits, when to turn it, which temperature to choose and how to check doneness. These details determine whether you get crisp potatoes and evenly cooked chicken or food that is dark on the outside and undercooked inside.
This guide focuses on practical, repeatable principles for basket-style air fryers and drawer-style models. Oven-style machines have different capacities and airflow, so their cooking times may vary considerably. Always consult your appliance manual, especially for accessories, parchment paper and maximum temperatures.
1. How an air fryer actually works
An air fryer has a heating element and a fan. The fan moves hot air rapidly across the food's surface, helping moisture evaporate and transferring heat efficiently. When the surface becomes sufficiently dry and hot, browning reactions create toasted flavors and crisp textures.
This explains why a single layer of fries often performs better than a deep pile. In a crowded basket, the hot air struggles to reach every surface; the food releases steam into narrow spaces and moisture accumulates. The result is a mixed batch of browned pieces and soggy pieces.
Air fryers are also small. They can heat quickly and often need less preheating than a full-size oven, but they cannot defy basic geometry. A large, thick chicken breast still takes time for heat to reach the center. Cook to a safe internal temperature rather than relying only on a timer or the surface color.
2. Learn your machine before cooking
Find the model number and read the instruction manual. Identify whether your appliance has a removable basket, crisper plate, dual drawers or an oven-style rack. Confirm the maximum temperature and the manufacturer's rules on preheating, oil, paper liners and cleaning.
Make sure the machine has adequate ventilation space around its sides and back. Place it on a stable, heat-resistant counter, away from hanging towels, curtains and water sources. Do not block the air inlet or exhaust.
Before the first use, wash the removable food-contact parts according to the manual, rinse and dry them thoroughly. Run an empty test cycle only if the manufacturer specifically recommends it; never place loose parchment inside an empty machine where it could be pulled onto the heating element.
3. Capacity matters more than marketing labels
A basket marked "5 liters" does not mean you can air-fry 5 liters of food to the same crispness in one batch. The functional limit for crisp foods is often the surface area of the basket, not its volume.
As a starting rule, lay food in a single loose layer when you want maximum browning. Small items such as fries or nuggets can sometimes be stacked shallowly if you shake the basket frequently, but a deep mound will cook less evenly.
If you're cooking for four people in a small machine, plan to work in batches. Keep the first batch warm briefly on an oven-safe tray, following safe holding practices, rather than crowding everything into the basket at once.
4. Why a little oil helps
Air fryers do not require food to be submerged in oil, but a small amount of oil can help create a more evenly browned surface. Oil improves contact and can reduce dry, dusty patches on potatoes and breaded foods. A teaspoon or two per serving is often enough, depending on the food.
Dry ingredients before coating them with oil. Water on the surface has to evaporate before crispness develops, so wet potatoes or washed vegetables may need to be thoroughly patted dry.
Use oils suited to the chosen temperature and follow appliance guidance. Aerosol sprays with additives can damage some nonstick basket coatings; manufacturers often recommend brushing or tossing food with oil instead.
5. Preheating: when it helps and when it doesn't
Preheating gives food a hot surface from the moment cooking begins, which can benefit small potatoes, breaded items and other foods that need crisp edges quickly. Many compact machines require only around 2–5 minutes, while some models specifically instruct you not to preheat.
For delicate or thick food, a more gradual temperature ramp may sometimes be useful. There is no universal "always preheat" rule. The manufacturer's directions and your results should guide the decision.
If using a paper liner, never preheat with loose paper inside. Airflow can lift it toward the heating element, creating a fire risk. Use accessories only when approved for the model and secured by enough food.
6. Choose a starting temperature
Below is a starting guide, not a guaranteed cooking chart. Check your machine's instructions and the actual food thickness; verify animal proteins with a thermometer.
| Food | Starting temperature | Typical range | What to check | | --- | --- | --- | --- | | Fresh potato wedges | 190–200°C / 375–390°F | 18–28 min | Golden outside, soft center | | Frozen fries | 190–200°C / 375–390°F | 12–20 min | Crispy, piping hot | | Broccoli florets | 185–195°C / 365–385°F | 8–13 min | Tender stems, browned tips | | Salmon portions | 180–190°C / 355–375°F | 7–12 min | Safe center temperature | | Boneless chicken breast | 180–190°C / 355–375°F | 14–22 min | 74°C / 165°F center | | Chicken wings | 190–200°C / 375–390°F | 20–30 min | 74°C / 165°F center | | Reheating pizza | 160–175°C / 320–350°F | 3–6 min | Hot center, crisp base |
These ranges vary with load, food thickness, starting temperature, airflow and the appliance itself. They are deliberately broad. For raw meat, poultry and fish, temperature at the center is more important than time.
7. Food safety temperatures you should know
Air fryers brown surfaces quickly, so the outside can look finished before the inside is safe. A digital food thermometer is one of the most useful accessories you can buy.
| Food | Safe minimum internal temperature | | --- | --- | | Chicken and other poultry | 74°C / 165°F | | Ground beef and similar ground meats | 71°C / 160°F | | Whole cuts of beef, pork or lamb | 63°C / 145°F plus at least 3 minutes rest | | Fish | 63°C / 145°F, or as required by local food safety guidance | | Leftovers when reheating | 74°C / 165°F |
Insert the thermometer into the thickest part, avoiding bones and large fat deposits. If the food has not reached the target, continue cooking even if the timer is finished. Follow more specific local guidance and manufacturer instructions where applicable.
8. The beginner's cooking workflow
- Read the appliance instructions, confirm any preheat requirement and place the unit on a safe heat-resistant counter.
- Choose a recipe suited to the basket size. Begin with vegetables or potato wedges rather than a large whole roast.
- Cut ingredients into similar-sized pieces so they cook at a similar rate.
- Dry the surface with paper towels or a clean cloth; excess surface water delays browning.
- Toss with a modest amount of oil and seasonings in a bowl instead of spraying large amounts into the machine.
- Place the food in a loose layer with visible gaps so air can circulate.
- Set an appropriate starting temperature and a timer slightly shorter than the expected cooking range.
- Check halfway through; shake fries or turn larger pieces so both sides encounter hot air.
- Look for excessive browning or steam. Adjust time or temperature and avoid adding more food to a nearly full basket.
- Check actual doneness. For meat and fish, measure the thickest part with a thermometer.
- Remove food using heat-safe utensils. Keep hands away from hot metal and the exhaust area.
- Serve promptly; cool and refrigerate leftovers within 2 hours, or within 1 hour in very hot conditions.
Once you can repeat this workflow with one food, changing to other foods becomes easier because the process stays familiar.
9. Fresh vegetables: the easiest place to start
Vegetables let you learn how quickly your air fryer browns without the same food-safety risks as raw meat. Broccoli, cauliflower, zucchini, peppers and carrots can all work well, but they contain different amounts of water and require different cooking times.
For broccoli, start with evenly sized florets, a little oil, salt and a moderate-high temperature. Check early: the tips can become dark while the thick stalks remain firm. Cutting stalks smaller than the florets improves even cooking.
Zucchini releases a lot of water, so it is best cut into thicker pieces, dried and cooked in a loose layer. Very thin slices can become limp unless the machine is hot and the basket is not crowded.
10. Potatoes and frozen fries
Fresh potatoes benefit from thorough drying and a thin coating of oil. Thick wedges need enough time for the center to soften, while thin fries brown faster. If the outside colors long before the center is tender, reduce the temperature slightly and extend the cooking time.
Frozen fries are often already coated in a small amount of oil. Follow the packaging directions as a reference, then shorten or extend the time for your machine. Adding a heavy coat of oil to commercial frozen fries is usually unnecessary.
Shaking the basket once or twice often improves evenness. Avoid opening it every minute: repeated interruptions can lower the cooking temperature and slow the process.
11. Chicken and fish without drying them out
Chicken breast varies substantially in thickness, so pounding very thick portions gently to an even size helps. Coat lightly with oil and seasoning, place in one layer and start checking internal temperature toward the lower end of the cooking window.
Chicken thighs are more forgiving because their fat content helps preserve a juicy texture. They still need to reach 74°C / 165°F. Bone-in pieces usually require more time than boneless portions.
Fish is delicate. Use enough oil or an approved nonstick accessory to reduce sticking, and avoid repeated turning. Check the center carefully. Thin fish portions may finish several minutes before thick cuts, even at the same setting.
12. Foods that don't work well
Very wet batter: a loose tempura-style batter can drip through the basket before it sets. An air fryer is not a direct substitute for deep frying. Use suitable breading or an air-fryer-specific technique instead.
Leafy greens without restraint: lightweight leaves can blow around and contact the heater. Use approved accessories, or choose another cooking method.
Large cheese-only portions: cheese melts quickly and can drip into difficult-to-clean areas. Use a suitable vessel or recipe designed for the model.
Large, tightly packed roasts: thick foods may be dark outside while still undercooked. Use lower heat when appropriate, a reliable thermometer and enough space, or choose the conventional oven.
Unsecured parchment paper: loose liners can be lifted by the fan into the heating element. Follow your model's instructions and never run with empty paper inside.
13. Common mistakes and how to fix them
Everything turns out soggy
The basket may be crowded or the food too wet. Dry ingredients thoroughly and reduce the amount per batch. Allow hot air to circulate rather than making a deep pile.
The outside burns while the center stays undercooked
The temperature may be too high for the thickness. Lower it, cook longer and use a thermometer for animal proteins.
Food sticks to the basket
The basket may need cleaning, a light coat of oil or a manufacturer-approved liner. Avoid metal utensils on nonstick coatings and don't pry food with force.
Seasonings burn
Fine spices, especially paprika and garlic powders, can darken quickly on exposed surfaces. Mix with a little oil or add delicate seasonings nearer the end.
The food dries out
Very lean meat may have been cooked too long. Reduce the temperature if needed, check doneness earlier and stop when it reaches a safe temperature rather than adding extra time "just in case."
The machine starts smoking
Turn it off safely according to the manual. Grease or crumbs near the heating element can smoke, particularly during high-heat cooking. Let the machine cool and clean it thoroughly before reuse.
14. Cleaning and maintenance
Unplug the air fryer and allow it to cool before cleaning. Remove the basket and crisper tray if applicable, and wash them according to the manufacturer; many baskets are dishwasher-safe, but that is not universal.
Use soft sponges rather than abrasive pads on nonstick surfaces. Empty crumbs and grease after each use and wipe the interior carefully when cool. Do not submerge the main electrical body or allow water into the heating element housing.
If unpleasant odors remain, wash the removable parts thoroughly and check for trapped crumbs. Avoid spraying cleaning chemicals directly into electrical components.
15. Accessories actually worth having
A digital instant-read thermometer is the most valuable accessory because it solves the uncertainty around meat and fish safety. Heat-resistant silicone tongs help remove food without damaging coated baskets. A soft brush can apply oil evenly.
Small oven-safe dishes or silicone molds may be useful for certain recipes, but only if the manufacturer permits them and they leave space for airflow. Avoid buying generic gadgets before confirming that they fit the basket and are designed for the temperatures your model reaches.
16. A realistic beginner's week
Start with one ingredient at a time so you can observe how your machine behaves.
- Day 1: roasted broccoli with olive oil and salt.
- Day 2: frozen fries, adjusting the package timing.
- Day 3: fresh potato wedges with paprika and garlic powder.
- Day 4: a small chicken portion with a thermometer.
- Day 5: reheated pizza or a toasted sandwich using approved accessories.
- Day 6: two types of vegetables cooked in separate batches.
- Day 7: repeat your favorite result and note the successful load size, temperature and time.
This sequence is more useful than attempting a complicated recipe immediately. Keep a small note of what worked; your own model's behavior matters more than universal charts.
FAQ
It can use significantly less cooking oil for some foods, but nutrition depends on what you cook, portion size and other ingredients. An air fryer does not automatically make every dish healthy.
Follow the manufacturer. Some models recommend short preheating, others do not. A hot basket can help crisp foods, but it is not a universal requirement.
Only if your model's instructions permit it. Foil can obstruct airflow or contact the heater if loose. Never use accessories in ways that conflict with the manual.
Many frozen packaged foods are suitable, and some raw proteins can be cooked from frozen following specific tested guidance. Increase cooking time as needed and verify safe internal temperature.
Yes, when their temperatures and timing are compatible and neither contaminates the other. Keep raw animal proteins away from ready-to-eat items unless a validated cooking method safely handles both.
Air-fryer models differ in fan strength, basket geometry and temperature accuracy. Begin checking early, especially with small foods and thin cuts.
No. Stay nearby while it operates, keep the counter clear and follow the manufacturer's safety recommendations.
It can replace some small-batch oven tasks, but the oven remains useful for large casseroles, loaves, multiple trays and foods that need a broad, even cooking chamber.
Editorial note: This is an educational guide, not a claim of direct testing of every model. Temperatures and times are starting points and must be verified for your appliance and food.
TastyFlavors Team
The editorial team behind TastyFlavors, sharing recipes, techniques and inspiration for everyday cooking.